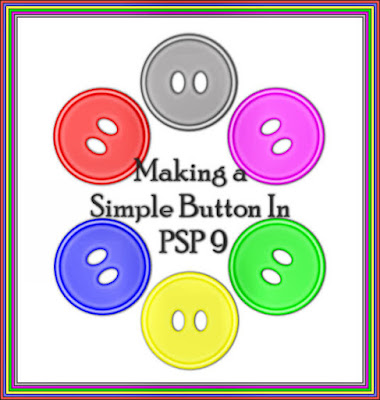
For this Tutorial we will be using
only PSP and the filters that come with it!
NO Outside Filters are used for this tut and
no supplies are needed
This Tutorial was Written By me on 01/27/09 in PSP V9
any resemblance to any other on the internet is
simply a Coincidence
I also do not claim any rights to the "techniques"
used in this tutorial
Feel Free to share my tutorials with others please
do not copy and claim as your own
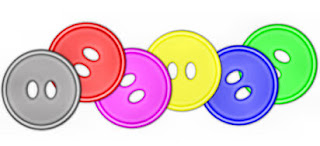
Ok let's Get started...
* you can click on screen shots to view larger image
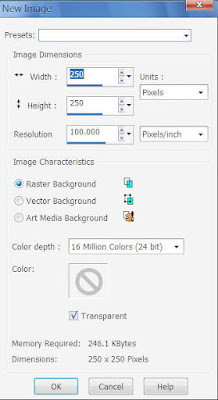
Open a new image 250 x 250 transparent
Select your preset shape tool

Settings:
Shape ellipse, Anti-alias checked, create as vector checked, width 15.00

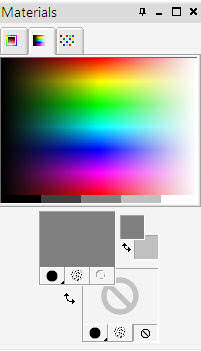
Forground Color #808080 back ground null
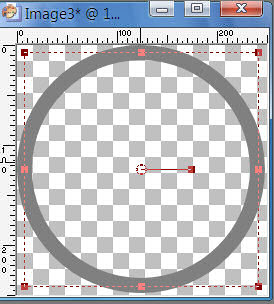
hold down shift key and draw a circle to almost fill the canvas see below:
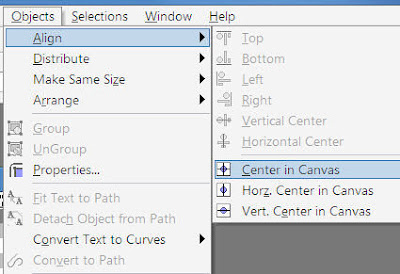
Objects align center in canvas
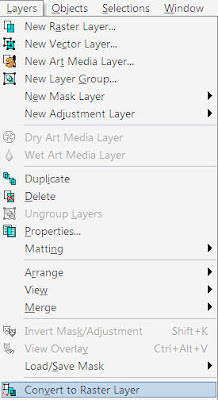
Layers/ Convert raster layer
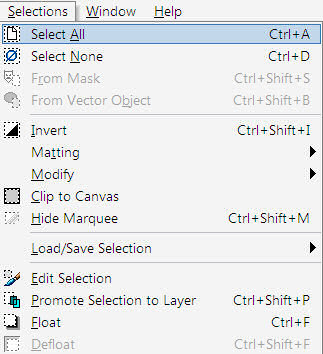
Selections select all/ selections/ float selection defloat
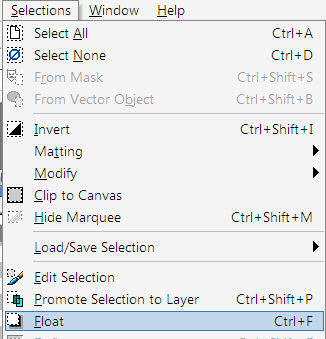
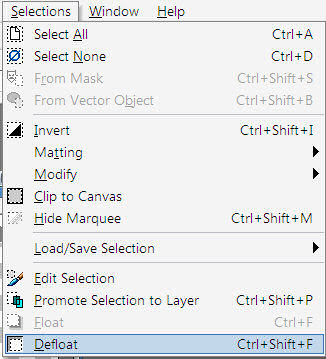
KEEP SELECTED
then layer new raster layer
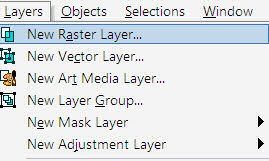
effects/ 3d effects/ cut out
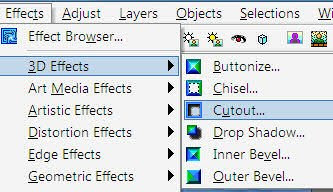
settings
Offset: Vertical 0 Horizontal 0
Attributes: Opacity 100 blur 25.00
Shadow Color #ffffff
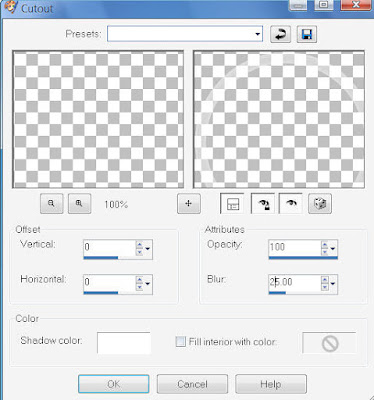
KEEP SELECTED
then layer new raster layer

effect 3d effects/ cut out

settings
Offset: Vertical 0 Horizontal 0
Attributes: Opacity 100 blur 15.00
Shadow Color #202020
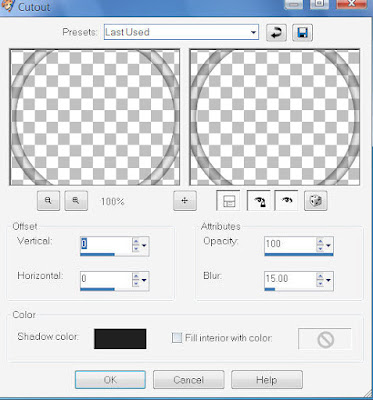
KEEP SELECTED
Layers/Merge/Merge Visible
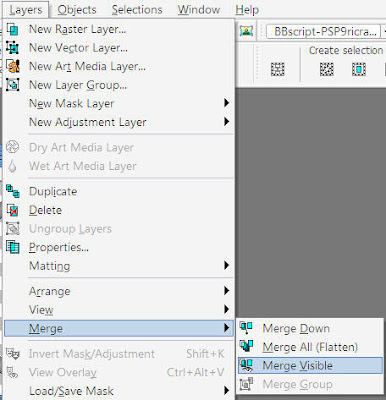
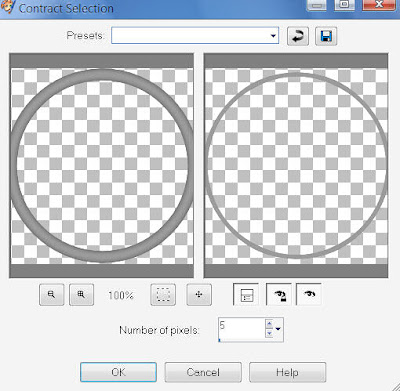
Selections Modify contract by 5
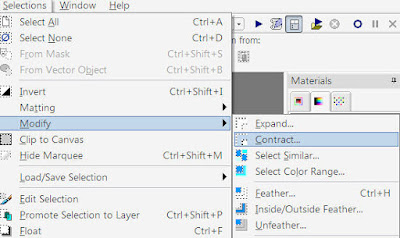
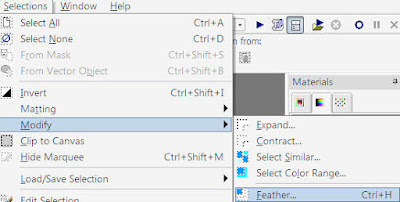
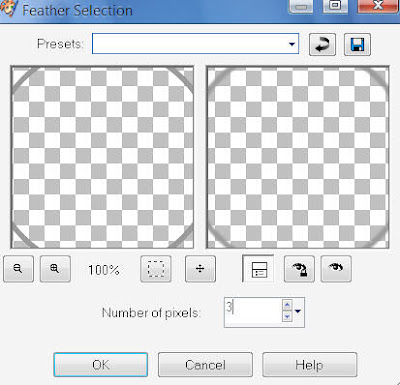
Selections/modify/ Feather by 3
KEEP SELECTED
then layer new raster layer

Flood Fill with Color #ffffff
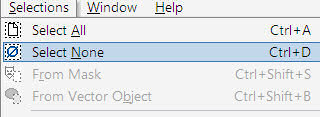
Selections / select none
Lower the opacity of this layer to around 60
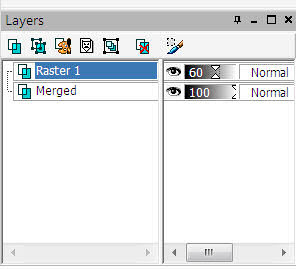
Layers/Merge/Merge Visible

you should now have something like this:
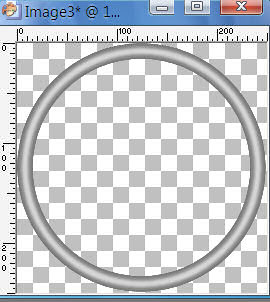
next select you magic wand tool

settings

Click inside your circle
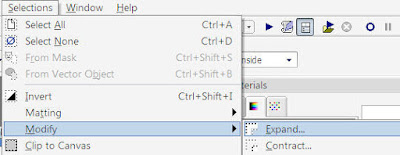
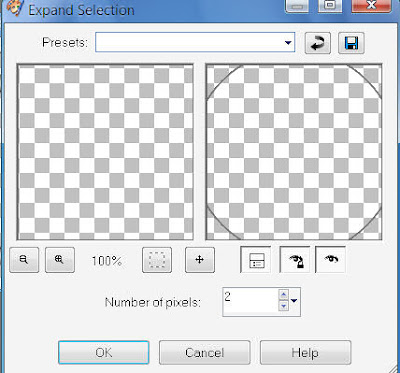
Selections expand/ expand by 2
KEEP SELECTED
then layer / new raster layer

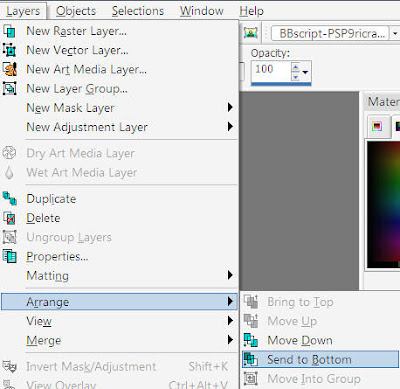
Layers/arrange/send to bottom
Flood Fill with Color #aaa8a8
KEEP SELECTED
then layer / new raster layer

effect / 3d effects/ cut out

settings
Offset: Vertical- 0 Horizontal - 0
Attributes: Opacity 100 blur 25.00
Shadow Color #ffffff

KEEP SELECTED
then layer / new raster layer

effect / 3d effects/ cut out

settings
Offset: Vertical- 0 Horizontal - 0
Attributes: Opacity 100 blur 15.00
Shadow Color #202020

Selections/select none

layers / merge / merge visible

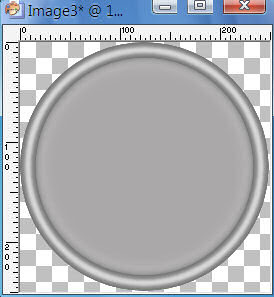
Yours should now look like this:
Select your preset shape tool

Settings
Shape ellipse, Anti-alias checked, create as vector checked, width 0.00

Foreground Color null back ground #404040
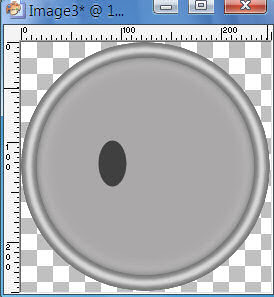
Draw an small ellipse like below:
convert to raster layer

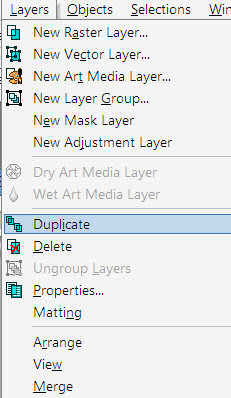
Layer / Duplicate
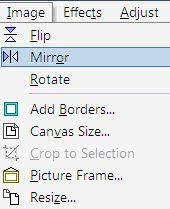
image/ mirror
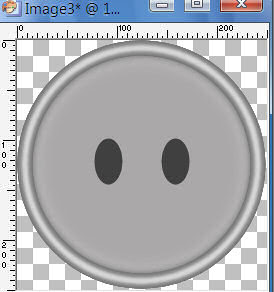
now yours should look something like this
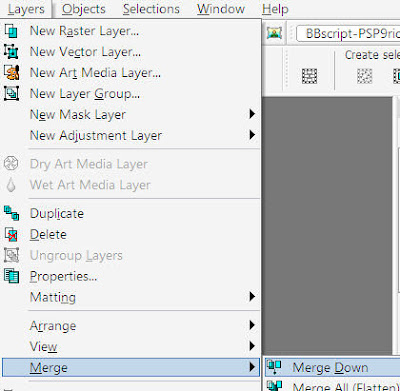
layers/merge/merge down
selections / select all, selections/ float, selections defloat
keep selected
Then in your layer palette select the bottom layer
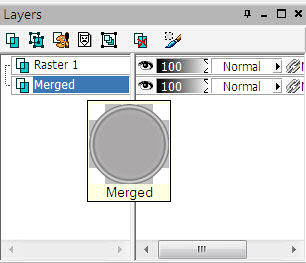
and hit delete on your keyboard
keep selected & delete top layer
keep selected
selections/ invert selections float/ selections defloat
layers new/ raster layer
effects/ 3d effects/ cut out

settings
Offset: Vertical 0 Horizontal 0
Attributes: Opacity 100 blur 25.00
Shadow Color #ffffff

KEEP SELECTED
then layer new raster layer

effect 3d effects/ cut out

settings
Offset: Vertical 0 Horizontal 0
Attributes: Opacity 100 blur 15.00
Shadow Color #202020

layers / merge visible
We are done!
save as .png or .psp or .pspimage
you can the colorize to you liking
enjoy!
